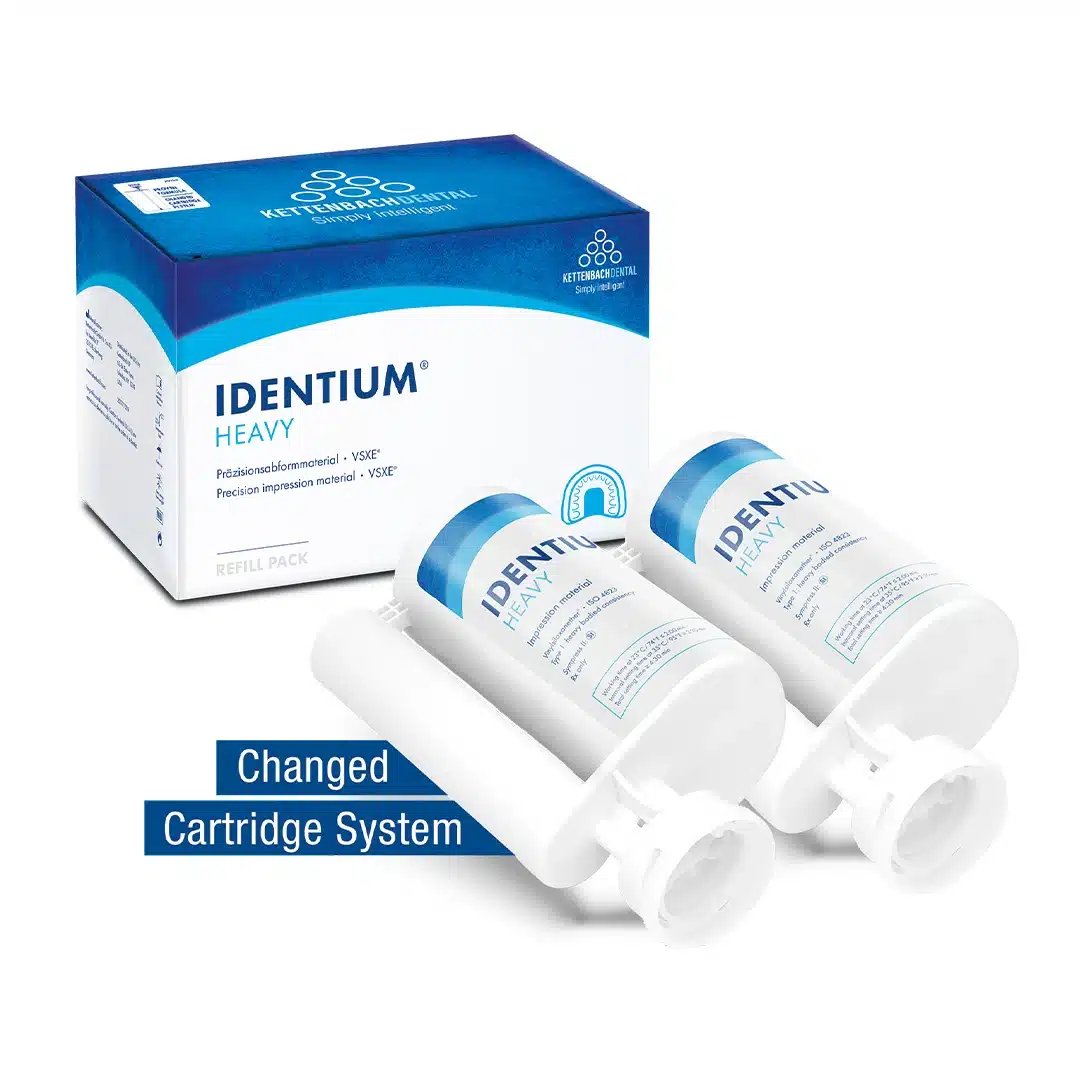
Identium® Heavy body consistency (VSXE) impression material with minimal setting time and maximum working time. Specially developed for crown, bridge, and implant work. Identium® Heavy provides comfort for both the user and the patient.
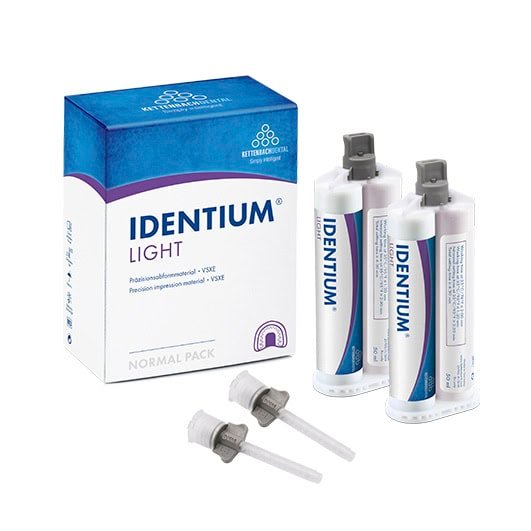
Identium® Heavy is a thixotropic heavy body impression material designed for the best impression results. It has been specially developed for crown, bridge, and implant work. In the one-step impression technique, Identium® Heavy is combined with the precision impression material Identium® Light.
For the best results, keep the preparation slightly moist (not too dry) before syringing with Identium® Light.
This introductory package also includes an optimized 50 ml cartridge of Identium® Light and the corresponding Identium® adhesive.
More reliability thanks to optimal pressure build-up and excellent flow properties, in combination with Identium® Light.
The setting process of impression material is influenced by temperature. For example, if the material remains in the mouth longer than 1 min 20 sec, it will already start setting locally! With Identium® Fast, you have only 40 seconds of working time intra-orally. All refills are supplied without dynamic mixing tips.
Identium® should not be combined with other impression materials and is not suitable for the two-step impression technique or for “relining.”
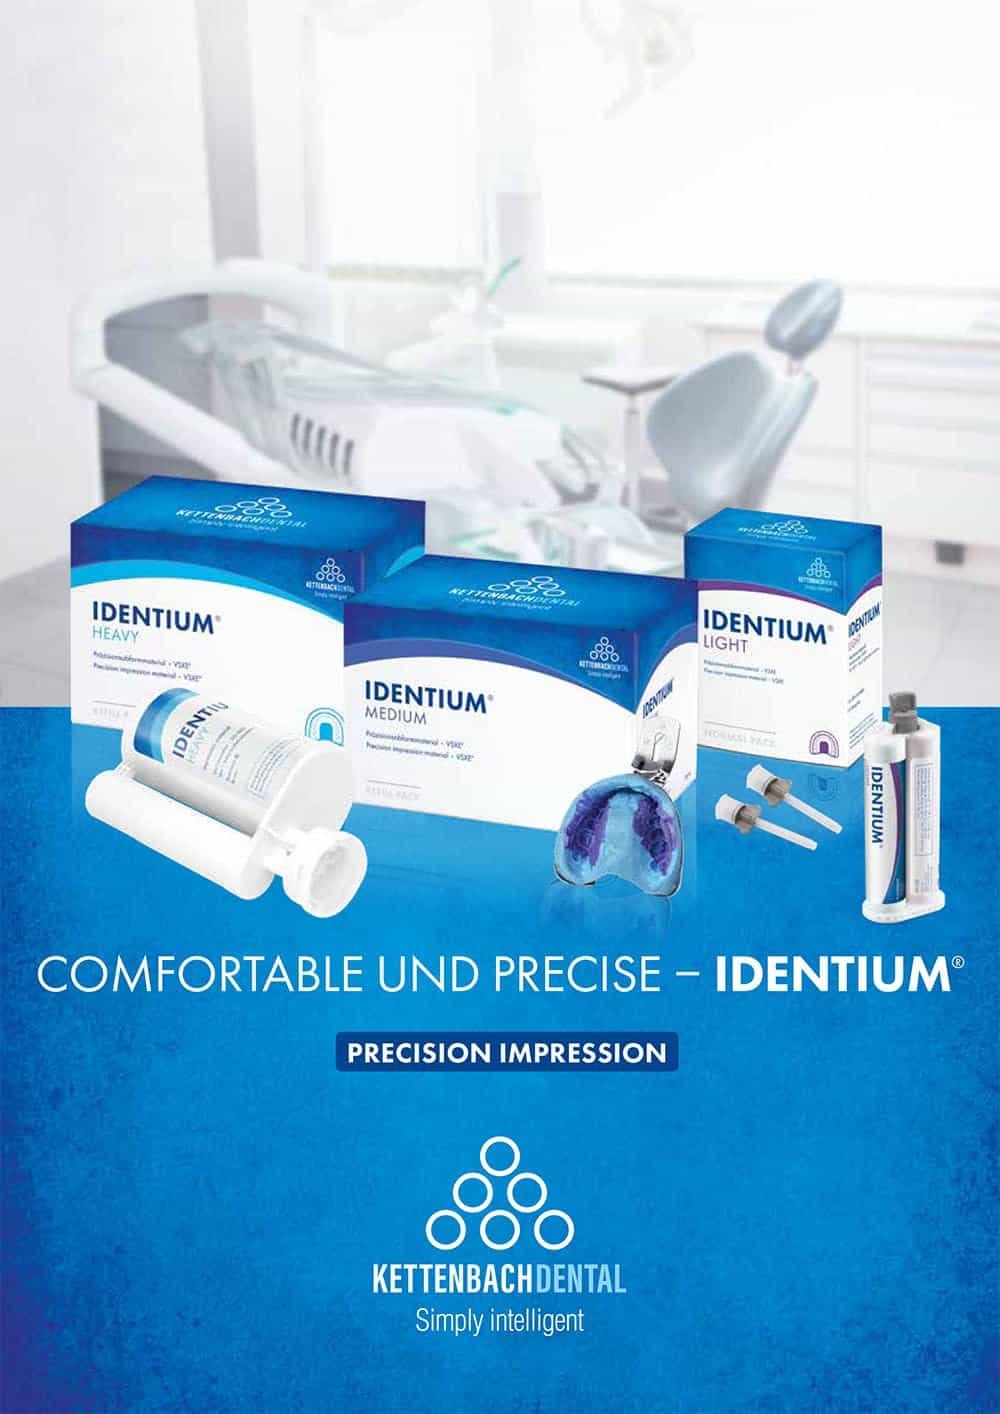
Provides an identical reproduction of the oral situation with excellent detail reproduction. This Vinylsiloxanether® (VSXE®) impression material combines the best properties of polyether and addition silicones. Identium® ensures greater reliability with highly stable 3D accuracy and optimal tear resistance. Neutral in taste and odor, with added comfort due to easier impression tray removal.
Identium® is available in Regular and Fast versions for the one-step impression technique. It can also be used as impression material for edentulous patients.
Also view our educational instruction videos and additional information!
| Indications | Crown and bridge impressions – one-step technique, Implant impressions in dentate patients, Scan-optimised (CAD/CAM) |
|---|---|
| Impression technique | Single-phase crown and bridge work |
| Shore hardness | A 60 (ca.) |
| Intra-oral setting time (≥ 35 °C) | 1 minute and 20 seconds |
| Colour | Blue |
| Application method | Mixstar, Pentamix 1, Pentamix 2, Pentamix 3, Plug & Press dispenser, Sympress / Sympress II or other automatic dispensing and mixing device |
| Type of material | Polyether properties, Vinyl siloxane ether |
| Consistency | Heavy / Type 1 |
| Impression tray selection (recommendation) | Closed tray, Individual tray, Perforated tray |
| Type of packaging | Refill 2 x 380 ml |
| Setting time | Normal |
| Content | 1 piece, 2 pieces |
| Brand | Kettenbach Dental |
| Included with item | Corresponding mixing tips, Identium 50 ml cartridge, Intraoral tips and adhesive |
| Manufacturer | Kettenbach GmbH & Co. KG |
The content has the same quality you are used to from Kettenbach Dental. You still benefit from the excellent properties of Kettenbach Dental impression materials. Once again, thanks to the new 380 ml Jumbo white cartridge with the matching white dynamic mixing tip, your mixing result is guaranteed. Due to the special cartridge neck, the impression material can be used immediately and the so-called “pre-bleeding” is not necessary.
No worries, they will simply retain their value!
You have either already received the equivalent number of new white dynamic mixing tips free of charge for exchange, or you are still entitled to an exchange. For this, you can contact us directly at ln.4latned@ofni.
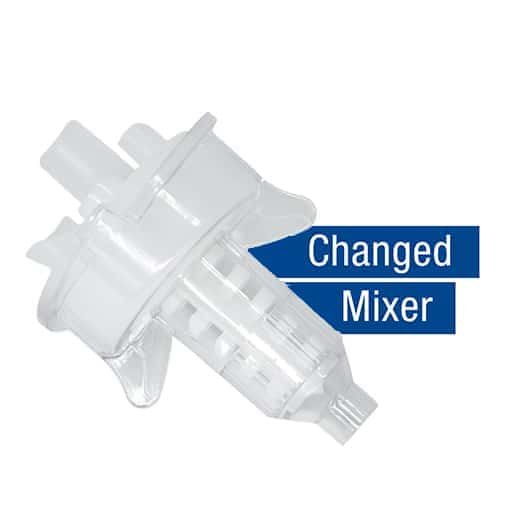
Unfortunately, the blue dynamic mixing tips do not fit these new white 380 ml Jumbo cartridges and vice versa. Therefore, you can order one pack of new white dynamic mixing tips free of charge from your dental depot or from us, so that you will not be faced with any surprises now or in the near future.
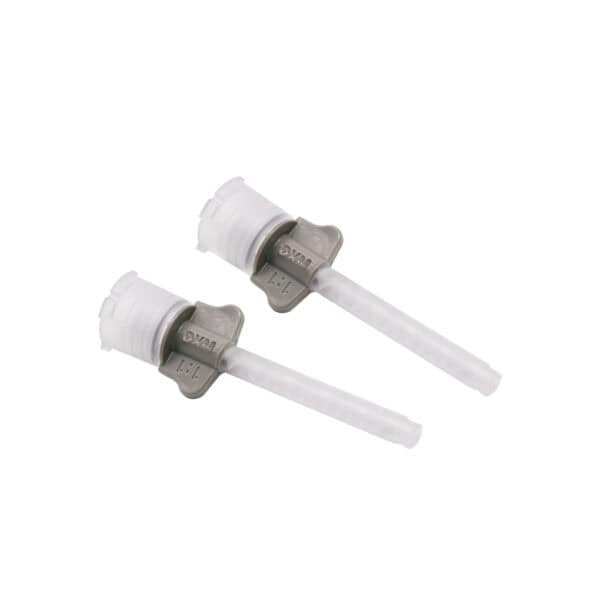
The colour of a cartridge’s end cap also indicates the colour of the corresponding mixing tips’ diameter. However, a certain diameter/colour mixing tip may be available in different lengths. This is never an option, as the length of the tip containing the integrated mixing mechanism guarantees complete mixing of a certain material. To be on the safe side, always choose the manufacturer’s original mixing tips. There are now many imitation mixing tips on the market that often do not mix correctly, which can lead to printing inaccuracies.
Latex has a negative effect on the curing of A-silicones and Identium. Contact with latex can prevent impression material from curing properly or at all in certain areas. This results in impression errors that are often immediately visible in the impression. Fortunately, latex-free practices have been standard in dentistry and dental prosthetics for many years. However, due to the acute shortage of gloves during the COVID-19 pandemic, latex gloves have been reintroduced alongside nitrile and vinyl gloves, resulting in reports of latex-related impression errors.
When selecting a ready-made tray, it is important to choose a well-fitting, rigid tray and customise it if desired. To create sufficient pressure with medium (Type 2) and heavy body (Type 1) impression material, choose a closed impression tray. By choosing a full impression tray instead of a partial tray, the laboratory obtains the desired dental information.
Impression material shrinks (minimally) and in order to make this shrinkage predictable and controllable, it is important to be able to create an even impression material thickness between the elements and the inside of the impression tray. Because adhesion occurs between the tray and the impression material, this material shrinkage always occurs towards the tray wall. The more shrinkage the impression material has, the greater the cement thickness will be when placing the crown and bridge work. An individual tray for a dentate situation must have sufficient impression material space (at least 4 to 5 mm).
It is important to note that a good individual tray can only be made thanks to a correct preliminary impression with alginate or Silginat® (scan-optimised A-silicone impression material). If trays are to be printed, it is preferable to make the preliminary impression with a scan-optimised impression material. For crown and bridge work, it is important that the tray is not too tight; in addition to blocking out undercuts, sufficient impression space (at least 4 to 5 mm) must also be created. Any inhibition layer on the plastic individual tray can interfere with the curing process of the impression material and must be thoroughly removed before use. After checking the fit, use the appropriate tray adhesive (also just over the edges). An adhesive only has a good adhesive effect once the adhesive layer is dry (after approximately 4 minutes).
Important steps for making a good impression start with preparing the impression tray, selecting the appropriate tray, customising it if necessary, and coating it with the appropriate adhesive, including over the edges. The adhesive will have dried completely by the time the impression is taken, ensuring a secure bond. Tip: if there is a risk of bleeding, take a second impression with a partial tray immediately after removing the mouthpiece. The pressure during the first impression reduces the risk of bleeding. Prepare the mixing gun/syringe/device for use and set the timer to the desired total curing time. The practitioner and assistant should be ready to start spraying the preparation and filling the impression tray simultaneously. Important: remove any retraction cord or paste and cotton rolls from the patient’s mouth just before taking the impression.
Prevent poor impressions by first eliminating any external factors that could adversely affect the processing and curing times of the impression material. These include temperature (warmer or colder than room temperature), latex, a polyether “contaminated” impression syringe, and the inhibition layer (lubricant layer) of temporary restoration material left on the preparation. Furthermore, some retraction agents may have a negative effect on the curing of the impression material; we have not received any complaints about this with regard to Kettenbach impression materials for decades. Use rigid impression trays and ensure that they are coated with the correct tray adhesive; the adhesive must be dry before the tray is filled with impression material. For sufficient pressure build-up with a medium and heavy body consistency, use a closed tray (putty in a perforated tray). With an individual impression tray, ensure sufficient impression space (4 to 5 mm) and remove any inhibition layer. Important: remove retraction cord or paste and any cotton rolls from the patient’s mouth just before taking the impression.
Begin the best preparation for printing by first determining the tray selection and individualising it if necessary. Coat the trays with adhesive before preparation; also just over the edges (adhesive must be dry for the adhesive effect). Prepare a partial tray so that, if desired, a second impression can be made immediately after removal. Due to the pressure during the first impression, there is a good chance that any bleeding will be under control. Prepare the mixing gun/syringe/device for use and set the timer to the desired total curing time. The practitioner and assistant should be ready to start spraying the preparation and filling the impression tray simultaneously.
Important: remove retraction cord or paste and any cotton rolls from the patient’s mouth just before taking the impression.
It is always best to store printing materials in a place that is neither too warm nor too cold. Since printing materials should be used at room temperature, it is wise to choose a place/room for storage that does not deviate too much from the desired room temperature. If this does happen, bring the printing materials to room temperature before use. If the printing material is too cold during printing, the curing times will be longer than stated, and if you are working in a (too) warm room, the processing and curing times will be much faster than normal.
Before printing can begin, any bleeding must be brought under control. Some retraction materials can have a negative effect on the hardening process of the impression material; we have not received any complaints about this with regard to Kettenbach impression materials for decades. Remove retraction cord or paste and any cotton rolls from the patient’s mouth just before taking the impression.
Before processing Identium® impression material, first bring the impression material to room temperature. (Processing and curing times are affected by higher or lower temperatures.) Do not use latex gloves or a polyether “contaminated” impression syringe. First remove the inhibition layer (lubricant layer) from an individual tray before taking an impression.
Temperature (warmer or colder than room temperature), latex and a polyether “contaminated” impression syringe, as well as the inhibition layer (lubricating layer) of a temporary restoration material left behind on the preparation, can adversely affect the curing of the Identium® impression material. Furthermore, some retraction agents may have a negative effect on curing; however, we have not received any complaints about this in relation to Kettenbach impression materials for decades.