
Colour
Indicaties
Type materiaal
Consistentie
Applicatie methode
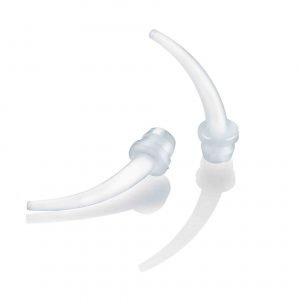
Type of packaging
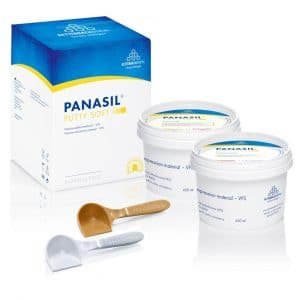
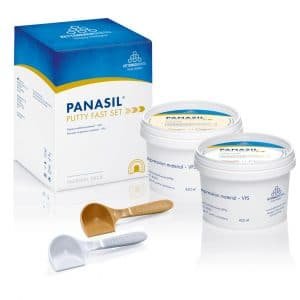
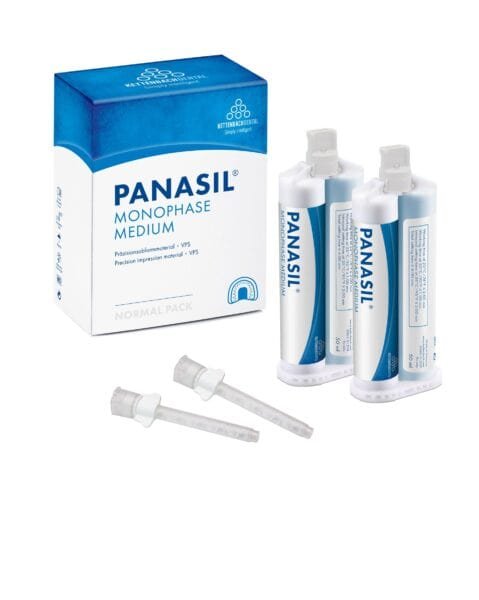
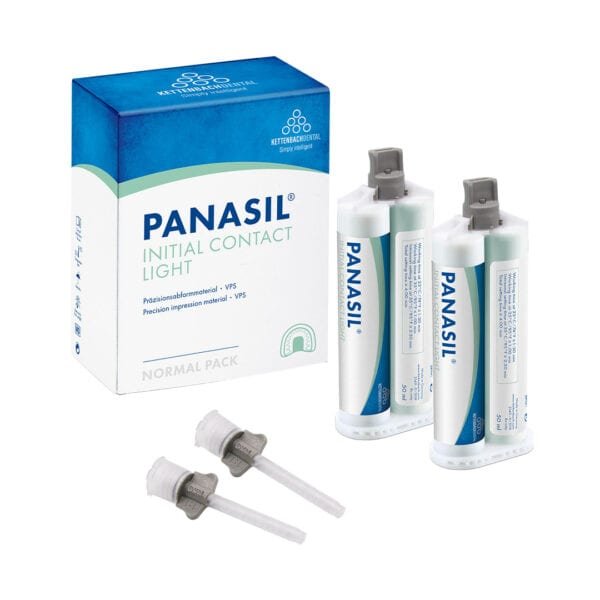
Panasil
Trust in precision — PANASIL®
For precision, even in extreme situations. Over 40 years of innovation, quality and experience in one product!
The PANASIL® range includes the right product for all impression techniques and indications. Thanks to its impressive product properties and coordinated product combinations, impressions can be taken even in moist environments with exceptionally precise results.
The product family is available in low, medium, and high viscosity as well as a kneadable putty material, all based on A-silicone.
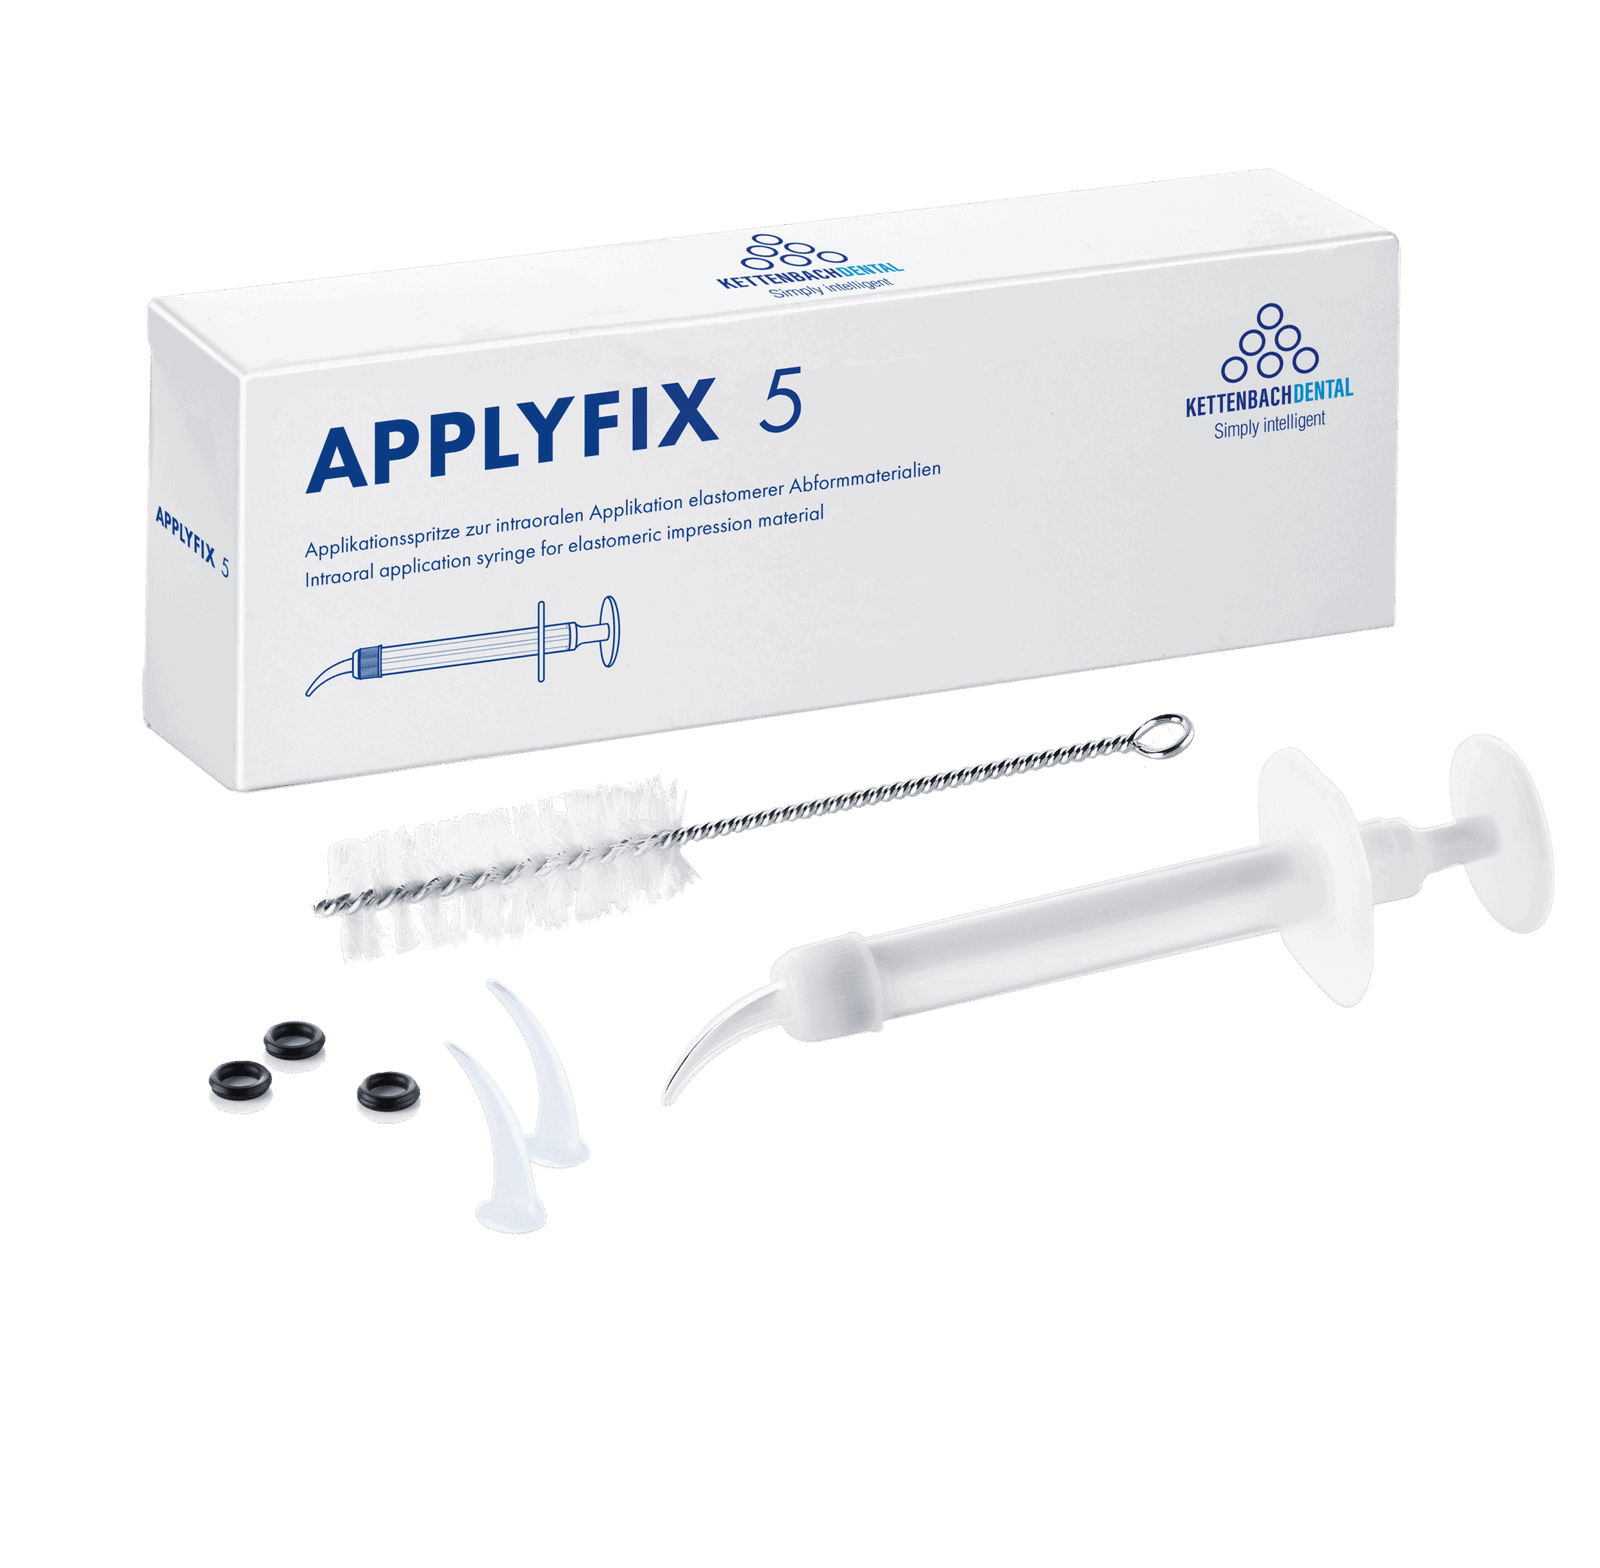


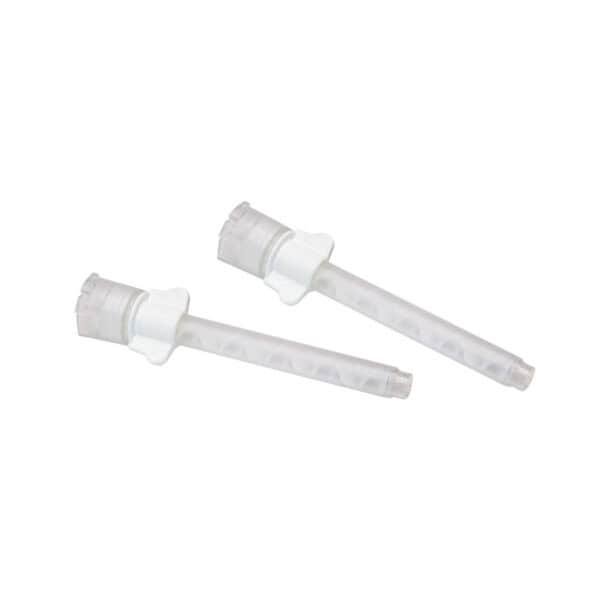
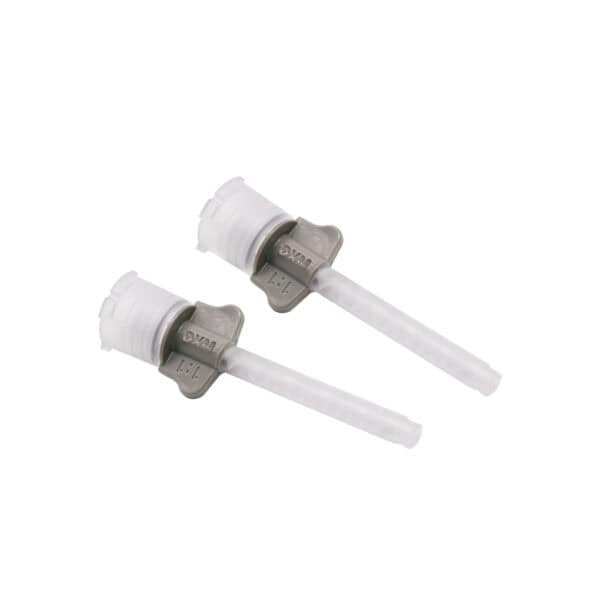

Yes. A mixing tips’s diameter and length must be matched to the material. Some mixers available on the market appear to be suitable, but do not mix homogeneously. To ensure best results, always use original Kettenbach Dental mixing tips. The right accessories are shown for each product on our website.
Do not use latex gloves. Latex has a negative effect on the curing of A-silicones and Identium® and can cause poor-quality impressions.
First bring the impression materials to room temperature (processing and curing times are affected by higher or lower temperatures). Do not use latex gloves or a polyether “contaminated” impression syringe. First remove the inhibition layer (lubricating layer) from an individual tray before taking an impression. When using a hand mix A-silicone Lab putty, always use the same ratio of catalyst and base material. To ensure best results, always use original Kettenbach Dental mixing tips.
Temperature (warmer or colder than room temperature), latex and a polyether “contaminated” impression syringe, but also the inhibition layer (lubricating layer) of a temporary restoration material that has remained on the preparation. Furthermore, some retraction agents may have a negative effect on curing; we have not received any complaints about this with regard to Kettenbach impression materials for decades. With a hand-mixed A-silicone putty, it is important that the ratio of catalyst to base material is 50/50% – if this is not the case, not only will the times mentioned change, but also the technical properties of the putty impression material. To ensure best results, always use original Kettenbach Dental mixing tips.
When selecting a ready-made tray, it is important to choose a well-fitting, rigid tray and customise it if desired. To create sufficient pressure with medium (Type 2) and heavy body (Type 1) impression material, choose a closed impression tray. By choosing a full impression tray instead of a partial tray, the laboratory obtains the desired dental information.
We recommend always using a custom tray when taking impressions with impression posts. Prefabricated trays can also be customized by damming around the palate area or on the end of the tray for a greater build-up of pressure. It must always be considered with the size that the distance between the tray wall and the tooth equator is at least 3 times greater than the depth of the undercut.
Impression material shrinks (minimally) and in order to make this shrinkage predictable and controllable, it is important to be able to create an even impression material thickness between the elements and the inside of the impression tray. Because adhesion occurs between the tray and the impression material, this material shrinkage always occurs towards the tray wall. The more shrinkage the impression material has, the greater the cement thickness will be when placing the crown and bridge work. An individual tray for a dentate situation must have sufficient impression material space (at least 4 to 5 mm).
It is important to note that a good individual tray can only be made thanks to a correct preliminary impression with alginate or Silginat® (scan-optimised A-silicone impression material). If trays are to be printed, it is preferable to make the preliminary impression with a scan-optimised impression material. For crown and bridge work, it is important that the tray is not too tight; in addition to blocking out undercuts, sufficient impression space (at least 4 to 5 mm) must also be created. Any inhibition layer on the plastic individual tray can interfere with the curing process of the impression material and must be thoroughly removed before use. After checking the fit, use the appropriate tray adhesive (also just over the edges). An adhesive only has a good adhesive effect once the adhesive layer is dry (after approximately 4 minutes).
- Select appropriate impression tray (stock or custom tray, perforated or solid), ensure proper size and fit.
- Apply adhesive 5 min before taking the impression. For Kettenbach Dental impression materials, we recommend our Universal Adhesive.
- Prepare the oral situation: Block out large undercut areas, expand the sulcus and control bleeding. For subgingival preparation margins, use retraction cords. If applicable, clean the prepared stumps.
- Prepare impression material: Bring material to room temperature. Mix homogeneously and fill the tray completely.
On first use of a new cartridge, discard at least 3 cm of material. For hand-mixed putties, maintain a 1:1 ratio of catalyst to base material. Leave the mixing tip in the material when filling the tray to avoid bubbles. Do not use latex gloves or polyether “contaminated” accessories. Remove the inhibition layer from an individual tray before impression taking. - Insert the filled impression tray into the patient’s mouth vertical to the occlusal plane while slowly applying pressure and hold in position.
Do not fully depress the tray. Do not hand the impression tray over to others. - After the material has completely set, remove the impression in the same direction as the tooth axis. Tilting the tray too much can cause permanent deformation.
- Rinse, dry and disinfect the impression.
General guidance: always follow the manufacturer’s instructions and the product IFU, and observe working and setting times. For more tips, consult our full troubleshooting guide.
Consider external factors that could affect the processing and curing of the impression material: These include temperature (warmer or colder than room temperature), use of latex gloves, a polyether “contaminated” impression syringe, and the inhibition layer (lubricant layer) of temporary restoration material left on the preparation. Furthermore, some retraction agents may have a negative effect on the curing of the impression material; we have not received any complaints about this with regard to Kettenbach impression materials for decades. For sufficient pressure with a medium and heavy body consistency, preferably use a closed impression tray. Ensure that it is coated with the correct tray adhesive; the adhesive must be dry before the tray is filled with impression material. With a customized impression tray, ensure sufficient space (4 to 5 mm) and remove any inhibition layer. Important: remove retraction cord or paste and any cotton rolls from the patient’s mouth just before taking the impression.
Begin the best preparation for printing by first determining the tray selection and individualising it if necessary. Coat the trays with adhesive before preparation; also just over the edges (adhesive must be dry for the adhesive effect). Prepare a partial tray so that, if desired, a second impression can be made immediately after removal. Due to the pressure during the first impression, there is a good chance that any bleeding will be under control. Prepare the mixing gun/syringe/device for use and set the timer to the desired total curing time. The practitioner and assistant should be ready to start spraying the preparation and filling the impression tray simultaneously.
Important: remove retraction cord or paste and any cotton rolls from the patient’s mouth just before taking the impression.
Impression material should be stored in a dry place at room temperature. Direct sunlight and extreme temperature changes must be avoided. If storage temperature is clearly below/above room temperature, bring the impression material to room temperature before use. If the impression material is too cold during impression taking, the setting times will be longer than stated, and if you are working in a (too) warm room, the processing and setting times will be much faster than normal. Always follow the manufacturer’s advices in the IFU.
Before taking an impression, any bleeding must be brought under control. Some retraction agents can have a negative effect on the curing process of the impression material; we have not received any complaints about this with regard to Kettenbach impression materials for decades. Remove retraction cord or paste and any cotton rolls from the patient’s mouth just before inserting the tray into the patient’s mouth.